It was early December last year when our front-end developer bailed on us. As the person responsible for building and maintaining our website, his absence was at the very least quite annoying. Especially since our website was far from done —it missed critical information and making even the slightest of changes in content was a complete hassle.
Bearing in mind that we were in the finishing stages of launching our web application, being not able to present that right on our OWN website would be nothing short of a little catastrophe.
Outsourcing the website wasn’t an option; we needed a quick in-house solution. While we do have two back-end specialists in our team — the guys who program all the stuff that’s happening behind the scenes — they had their hands full with completing the application itself. That left me as the only viable candidate to take up the task. And I must say, I was happy to grab the challenge by the horns.
While I’m by no means a full-fledged front-end developer, I do have some experience with building websites and blogs. I know my HTML and CSS. But then again, that was knowledge from a couple of years ago. Still, I saw it as a great opportunity to brush up my skills and to help move our company forward.

We found Jekyll in hopeless place
The goal was to create a lightweight website that’s easy to maintain and change (we like change), and has a blogging functionality. Usually Wordpress is the go-to-service for such a website, but this time around we went for something else. We chose to use Jekyll.
Jekyll is a simple, blog-aware, static site generator. What that boils down to is that you don’t login to a fancy online dashboard to post something or add a new page, but instead write your musings offline in a text editor and then have Jekyll turn that into ready-to-upload webpages including navigation and anything else you’d expect. Sure, you’ll need to create some templates to make the content presentable first, as well as do a little config, but the core is as simple as that.
The advantage is that it creates super lightweight websites that load very fast, while you still get much of the functionality of regular blogging software. The fact that the blog is generated offline also means that there are no potential security holes. There’s no database. So the only real downside is that there’s no online dashboard where users can login to. That makes it slightly more difficult for non-technical people to operate the blog or maintain the website. But since we are a tech startup, that shouldn’t be a problem.
Also no databases, frameworks or any other fancy stuff means that we can use the cheapest hosting available. A simple storage service aka S3 Bucket from Amazon will do perfectly.
So there are obviously a few rational arguments for going with Jekyll. But what really nudged us towards the blog generator however was a little meeting that transpired in the summer of 2015. During RISE Conf in Hong Kong we bumped into Werner Vogels, the Dutch CTO of Amazon. And when I say bumped into, what I really mean is that our co-founder Alessandro was taking a leak right next to Mr. Vogels in the conference bathroom. But when the chance opened up for us to actually talk to him, we completely missed it.
How that came to be is a story that gets more impressive by the day, but let’s just say that all of us were occupied with something else at that very moment, so all we could do was watch him walk away in slow-motion. Anyway, Werner Vogels runs his own little blog and uses Jekyll for that purpose. That in itself was enough reason for us to see what Jekyll was all about and give it a go.
PROTOTYPING WHILE BUILDING = bad
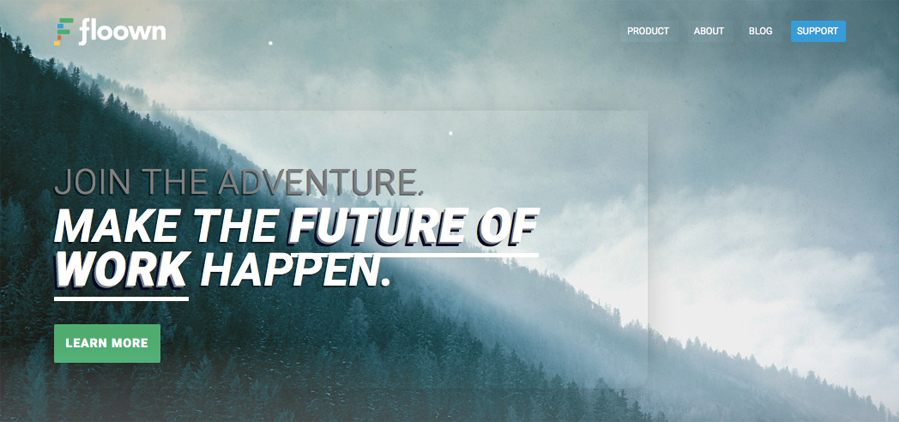
Okay, choices were made, orders were given. It was now time for action, which meant I was to design a webpage that would look cool, persuasive and informative. I started out using a few Unsplash photos as background cover. Our main critique of our previous website was that it was blend and grey. To combat it we wanted something more energetic and eye-catching. Stock photos from Unsplash weren’t going to give us any originality prizes, so after a few office drinks we decided to get a more original photo.
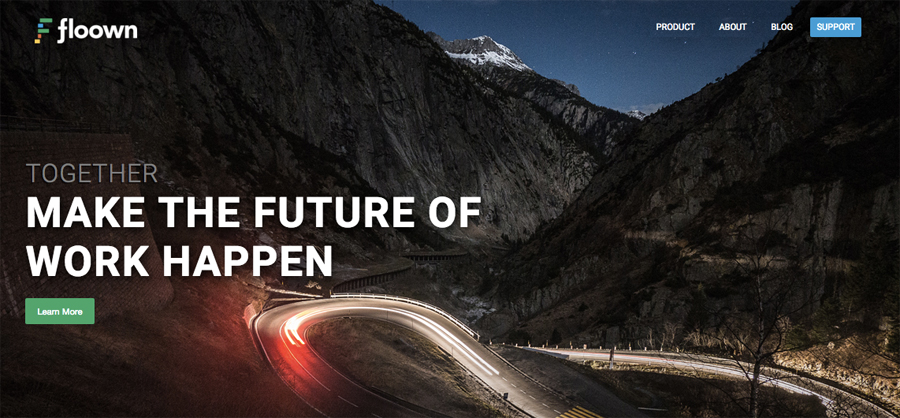
During that same session, one of us remembered they knew someone riding his bike across the globe. We logged onto his Tumblr to find out he’s not only cycling a lot, but also makes beautiful photos. We ended up commissioning a few photos from him, and ran with that.
I continued designing the page. And building it at the same time. Which turned out to be not such a good idea. Because obviously my first designs weren’t gonna cut it. After a few rounds of feedback I had to alter much of the lay-out and visuals. But because I was building while designing that meant I also had to alter much of the entire code again. I chalk it up to my rustiness.
Things got worse before they got better though. When I completed the basic designs for the most important pages and wrote the HTML and CSS, I decided I should actually check out that Jekyll thing. I hadn’t fired it up yet, but I mean, how hard could it be.
Well not that hard if everything goes according to plan, but for some reason the software wouldn’t install on my computer. You see, you have to use your terminal to get it all up and running. But that same terminal kept on giving me bad news. There was something wrong with Homebrew (a prerequisite for Jekyll) and I had no idea what exactly.
An entire morning of searching the web and pushing commands into my terminal didn’t help. Then I stumbled upon a little blog post that had the answer for me. I had to change one line in a config file, and BANG: I was up and running. It turned out that my OSX had installed a newer version of Ruby (probably during a mandatory update) than Homebrew was anticipating. Once I told Homebrew to just take whatever Ruby version is available, it started to listen and work. GREAT!
[If that was too technical for you, I’m sorry. The gist is that I finally got it working.]
SASS-first = good
Then there was this thing called SASS. I heard about it, but never got into it. And while it’s not mandatory, it promised so many benefits I couldn’t not dive into it. SASS allows you to set up a few general rules and variables for your CSS aka the styling of your website. For example, you can define what shade of grey you mean whenever you order a certain paragraph of your website to be $grey. You can also define what you mean whenever you say that a certain formatting is only meant for a $laptop and not for a $tablet.
In other words, the savvy designer spends a lot of time setting up a great basis of rules and variables in the beginning, so formatting the templates will become a breeze. Of course, I didn’t do that, which leaves me with a not so beautiful mix of half-written rules, variables and lot’s of exceptions.
Horrendous if you were to work with me on the website. I’d probably have to explain so much for you to make a change, I would be better off doing it myself. So… I’ll be refactoring the code. In due time.
DONE WITH PHASE ONE
Okay long story short: through the fire and rain I finally managed to get the whole thing up and running and make it look somewhat presentable. Which concludes phase one. Now it’s time to slowly prepare to initiate phase two. I’ll begin with refactoring the current code, and then move on to critiquing the design with the team. Once we’ve identified what needs to be improved I can start on the renewed design, and once that’s done and agreed upon, implement it.
I’ve got good hopes that phase two will be a much smoother ride. Lifting everything up to a higher level will be challenging, but using the right processes and tools will help a lot. So in that sense I’m not mad at all about the last few weeks of work. It has been somewhat stressful with all the holiday celebrations demanding attention, but what are you gonna do…
The important thing is that we’re back online, and that I personally have reached a new power level in web design.
In conclusion I’ll summarize my lessons learned for future reference:
Determine the goal of the website, and subgoal of each page
Take your time with this step. If you can. When you've finished the page and then find out that it's not really doing what you wanted it to do, you're going to have to redo the whole thing. So, it's worth it to have a few discussion about the function and goal of every single page.Work towards creating an overall feel of the design (colors, patterns, structure)
Based on what your company or product is all about, you should write down the feelings that go with it. Happy uplifting products will need some lighter and brighter colors. That may seem logical, but it would be a real shame if you'd be done with your website and again, find out it's not what you're all about.Start designing several options to be critiqued
Your first design will probably not be your best one, so don't be afraid to make more than one design. Also, when you give people options, they can communicate better what they like and don't like about the different designs. This gives you a better body of feedback to improve your designs.Improve, improve, improve
It's easy to be content and push away the feedback. I do that sometimes. But it helps to try out things you might not believe in at first sight. Going in with a mindset of improvement can do two things: it can give you a great new design, or it can lead you back to your original design, but at least with a more confident feeling.Set-up the basic functionality of the website and start on the SASS foundation
Functionality should be high on the agenda I think. On more than one occasion I had to adjust the design because things wouldn't work the way I expected them to. If you make it all work first, you can format accordingly. The other way around has been not so good for me. And starting out with a SASS foundation speaks for itself right?Build each page and implement the designs
Okay, this one isn't that set in stone for me. The advantage of having all the pages before adding the designs is that you get a feel for the navigation. The disadvantage is that you might find yourself end up not truly finishing one page, but keep switching between them. So just do you, I guess…Evaluate if the goals have been reached
VERY IMPORTANT! Asking yourself if you have done what you should have done is the number one question. Just because you spent a lot of time on something and have something to show to people, doesn't mean you did what was needed.REPEAT!
It's a process. Haha.
Feel free to check out the website over at floown.com. So you’ll know all the above really did happen :)